How to Switch Between eSIM Profiles on iPhone and Android

Most People Never Open Their Second eSIM
Your phone is probably hoarding eSIM profiles you've forgotten about. That Japan plan from last spring, the conference trip to Berlin -- they're still installed, taking up zero space, waiting to be reactivated. The surprising part isn't that they're there. It's how many more your phone can hold.
iPhones store up to eight eSIM profiles. Samsung Galaxy phones can hold up to 20. You don't need to delete one before adding another, and you don't need to re-scan a QR code to reactivate a profile you've already installed.
The catch: only one or two profiles can be active at the same time. The rest sit dormant, ready to switch on whenever you need them. Managing all of this takes about 30 seconds once you know where to look.
Saved eSIM profiles stay on the device until you delete them, so labels matter once trips start piling up.
Switching Profiles on iPhone
Open Settings > Cellular (called "Mobile Service" in some regions). Under the SIMs section, you'll see every eSIM profile stored on your device, along with your physical SIM if you have one. Apple's eSIM setup guide walks through this screen in detail.
Tap the profile you want to use. Toggle Turn On This Line to activate it, or toggle it off to deactivate.
To change which profile handles your mobile data, go back to the Cellular screen and tap Cellular Data. Pick the profile you want for data. This is the setting that matters most for travelers: it controls which eSIM your phone uses to get online.
One thing that trips people up: you can have two lines active (for calls and data), but only one line handles mobile data at a time. If you're abroad with a travel eSIM for data and your home SIM for calls, make sure your travel eSIM is selected under Cellular Data.
Switching Profiles on Android
Android varies more by manufacturer, but the general path is the same.
Stock Android / Google Pixel: Open Settings > Network & Internet > SIMs. Tap the eSIM you want to activate and toggle it on. To set it as your data line, tap Mobile data and select the profile. Google's Pixel dual SIM guide covers this in full.
Samsung (One UI): Open Settings > Connections > SIM Manager. You'll see your installed SIMs and eSIMs listed. Tap the one you want to enable, toggle it on, and select it for data if needed.
On both platforms, you can also set preferences for which SIM handles calls and which handles texts. For most travelers, the only setting that matters is the data line.
Labeling Your Profiles
After your third or fourth eSIM, a list of carrier names starts to blur together. "Carrier" and "Travel" don't tell you much when you have profiles from Japan, Thailand, and the UK all sitting on your device.
Rename them. It takes ten seconds and saves real confusion later.
iPhone: Go to Settings > Cellular, tap the profile, then tap Cellular Plan Label. You'll see presets like "Travel" and "Business," but tap Custom Label to type something specific. "Japan 5GB" or "Thailand Dec 2025" works better than "Travel."
Android: Go to your SIM settings (path varies by manufacturer), tap the eSIM, and look for the name or a pencil icon. Type your custom label and save.
A good naming convention: Country + data amount or Country + trip date. When you land somewhere and need to quickly toggle the right profile, you'll be glad you labeled them.
Adding a New eSIM Profile
You can add new profiles without touching your existing ones. Your phone stores multiple profiles side by side.
iPhone: Go to Settings > Cellular > Add eSIM. Scan the QR code from your eSIM provider, or enter the activation details manually. The new profile appears in your SIM list immediately. Don't forget to label it right away.
Android: Go to Settings > Network & Internet > SIMs > Add SIM (stock Android) or Settings > Connections > SIM Manager > Add eSIM (Samsung). Scan your QR code and follow the prompts.
If you're new to eSIM entirely, our beginner's guide to eSIM walks through the full setup from scratch.
Deleting a Profile You No Longer Need
Profiles you've finished using don't hurt anything by sitting on your device. But if you want to clean house, or you're hitting the storage limit, removing them is straightforward.
iPhone: Go to Settings > Cellular, tap the profile you want to remove, scroll down, and tap Delete eSIM. Confirm when prompted.
Android (stock): Go to Settings > Network & Internet > SIMs, select the eSIM, and tap Delete SIM.
Samsung: Go to Settings > Connections > SIM Manager, tap the eSIM, and tap Remove.
One warning: deleting an eSIM profile is permanent. You can't undo it. If you think you might reuse the plan (some travel eSIMs allow top-ups), deactivate the profile instead of deleting it. You can always toggle it back on later without needing a new QR code.
Quick Reference
Here's the cheat sheet version:
| Action | iPhone Path | Android Path |
|---|---|---|
| Switch active profile | Settings > Cellular > tap profile > toggle on | Settings > Network & Internet > SIMs > tap profile |
| Change data line | Settings > Cellular > Cellular Data | Settings > SIMs > Mobile data |
| Rename a profile | Settings > Cellular > profile > Cellular Plan Label | Settings > SIMs > profile > name/pencil icon |
| Add new eSIM | Settings > Cellular > Add eSIM | Settings > SIMs > Add SIM |
| Delete a profile | Settings > Cellular > profile > Delete eSIM | Settings > SIMs > profile > Delete SIM |
Samsung users: substitute "Connections > SIM Manager" for the Android paths above.
The Travel Workflow
Install your travel eSIM before you fly, then toggle it on after landing. The whole switch takes seconds.
Here's how this all fits together for a typical trip. Apple has a dedicated guide on using eSIM while traveling internationally, but the workflow is the same on any phone. Say you're heading to Japan:
- Buy your Japan eSIM plan from Only eSIM before you fly. Install it via QR code.
- Label it something useful: "Japan 10GB March."
- Board your plane with the profile installed but inactive.
- After landing, open Settings, toggle your Japan profile on, and set it as your data line.
- Keep your home SIM active for calls and texts if you want to stay reachable on your regular number.
- When you fly home, toggle the Japan profile off and switch your data line back to your home SIM.
The whole process takes less time than clearing customs. And if you travel to Japan again, that profile might still be sitting on your phone, ready to reactivate if you top up.
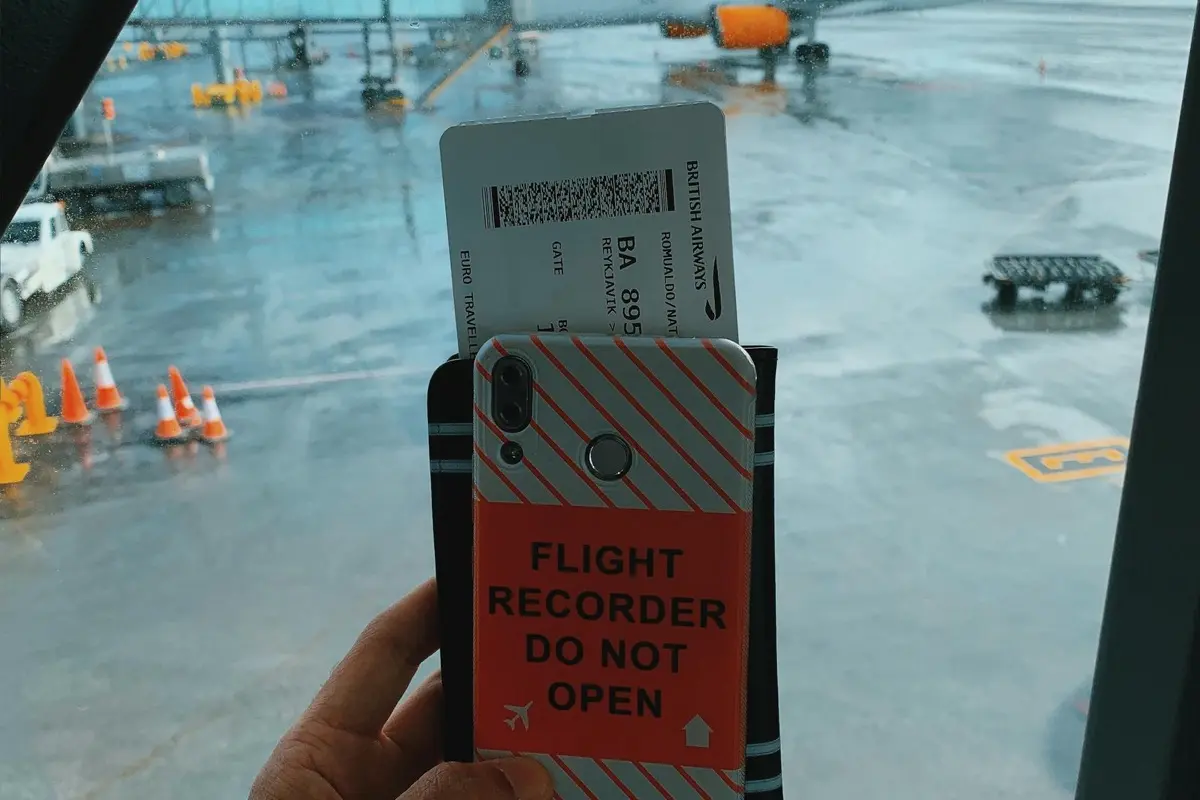
Hero photo by MART PRODUCTION on Pexels. Inline photo by Natã Romualdo on Pexels.
Stay connected wherever you travel
Instant-activation eSIM plans for 190+ countries. No SIM swaps. No roaming charges.
Related Articles
 Learn
LearnCan You Use eSIM and a Physical SIM at the Same Time?
Yes, most modern phones support Dual SIM — running an eSIM alongside a physical SIM card. Here's how to set it up, manage two lines, and choose defaults for calls, texts, and data.
 Learn
LearnHow to Check if Your Phone Supports eSIM
Step-by-step instructions for checking eSIM compatibility on iPhone, Samsung, Google Pixel, and other Android devices. Plus how to tell if your phone is carrier-locked.
 Learn
LearnCan You Use an eSIM for Calls and Texts, or Just Data?
Most travel eSIMs are data-only, but that doesn't mean you can't make calls. Here's how data-only vs voice eSIMs work, plus the apps that let you call and text over any data connection.