How to Install and Activate an eSIM
Three Ways to Install an eSIM
The entire eSIM profile that replaces your physical SIM card is under 1 MB. That's smaller than most photos on your phone. Yet that tiny download is the part that trips people up, because the installation menus are buried three levels deep in your phone's settings and every manufacturer labels them differently.
There are three ways to get that profile onto your phone, and all of them take under five minutes. Which method you use depends on what your provider sent you. (If you're still figuring out what an eSIM actually is, start here.)
QR code scanning is the most common. You point your phone's camera at the code, confirm the download, and you're done. This is what you'll get from most travel eSIM providers, including Only eSIM.
Manual entry uses an SM-DP+ server address and an activation code. Same result as scanning a QR code, just typed instead of scanned. Useful when you can't scan the code (like when it was sent to the same phone you're installing it on).
App-based installation handles everything inside the provider's app. You tap a button, the app pushes the profile to your phone settings, and the rest happens automatically.
Let's walk through each one.
Install the profile while you still have reliable internet. Activation can wait until your destination network is available.
QR Code Installation
This is the fastest method. You'll need a working internet connection (WiFi or mobile data on your existing SIM) and access to the QR code on a separate screen: your laptop, a printout, or another phone. The steps vary slightly by device, so here's the exact path for each.
iPhone
- Open Settings
- Tap Cellular (called "Mobile Data" in some regions)
- Tap Add eSIM
- Tap Use QR Code
- Point your camera at the QR code
- Tap Continue when the profile details appear
- Wait for the download to finish (usually a few seconds)
- Label the new line something recognizable, like "Travel Data"
Apple's official eSIM setup guide covers edge cases and carrier-specific quirks if you run into trouble. And if you're on iOS 17.4 or later, there's a shortcut: long-press a QR code in an email or webpage on your iPhone and tap Add eSIM from the context menu. No second screen needed.
Samsung Galaxy (One UI)
- Open Settings
- Tap Connections
- Tap SIM Manager
- Tap Add eSIM
- Tap Scan QR code from service provider
- Scan the code
- Tap Confirm to download the profile
Samsung's menu labels can shift between One UI versions. If yours looks different, Samsung's eSIM guide has screenshots for each variant.
Google Pixel
- Open Settings
- Tap Network & internet
- Tap SIMs
- Tap Add SIM
- The QR scanner opens automatically. Scan your code.
- Tap Download to install the profile
Google's Pixel SIM setup page covers the full range of Pixel models from the Pixel 4 onward.
The Add eSIM option lives under Settings > Cellular on iPhone. Samsung and Pixel bury it in slightly different menus.
Manual Entry (SM-DP+ Address)
Sometimes you receive the eSIM details as text instead of a scannable code. You'll get two pieces of information: an SM-DP+ address (a server URL used for remote SIM provisioning) and an activation code (a long string of characters). Some providers combine these into a single string that starts with LPA:1$.
iPhone
- Go to Settings > Cellular > Add eSIM
- Tap Enter Details Manually at the bottom
- Type (or paste) the SM-DP+ address into the first field
- Type (or paste) the activation code into the second field
- Leave the "Confirmation Code" field blank unless your provider gave you one
- Tap Next and confirm the installation
Android (Samsung and Pixel)
Follow the same path as QR code installation, but when you reach the scanning screen, look for a text link that says "Enter activation code" or "Enter details manually." Tap it, paste your SM-DP+ address and activation code, and confirm.
One warning: copy-paste carefully. A single wrong character in the SM-DP+ address means the download will fail. If your provider sent the details in a LPA:1$ format, paste the entire string and your phone should parse it automatically.
App-Based Installation
Some providers offer their own app that handles profile installation for you. You log in, tap "Install," and the app communicates with your phone's eSIM settings behind the scenes.
The advantage is simplicity. The disadvantage is that you need to download the app first, which might not be ideal if you're already low on storage or patience.
At Only eSIM, we send a QR code by email so you don't need to install anything extra. But if you prefer using our app, it handles installation with a single tap.
After Installation: Activating Your eSIM
Installing the profile and activating it are two separate steps. Installation downloads the carrier profile to your phone. Activation connects you to the network.
For most travel eSIMs, activation happens automatically when your phone first connects to a supported network at your destination. So if you install your Japan eSIM at home in Chicago, it sits dormant until you land at Narita and your phone picks up the signal.
One setting you need to check: make sure data roaming is turned on for your eSIM line. This is off by default on most phones, and it's the number-one reason people land abroad and wonder why their brand-new eSIM isn't working.
- iPhone: Settings > Cellular > tap your eSIM line > toggle on Data Roaming
- Android: Settings > Network & internet > SIMs > tap your eSIM line > toggle on Roaming
Troubleshooting: When Things Go Wrong
Most eSIM installations work on the first try. When they don't, it's almost always one of these five issues.
"Unable to activate eSIM" or "Cannot add eSIM plan" Your phone might not have an internet connection. eSIM profile downloads require data, even though the file is small. Connect to WiFi or use mobile data on your existing SIM and try again.
QR code "already used" error eSIM QR codes are one-time use. If you scanned it once and the installation failed partway through, the code may be flagged as consumed. Contact your provider to get a new one. At Only eSIM, you can reissue codes from your order page.
eSIM installed but no data connection Check three things in order: (1) Is data roaming enabled for the eSIM line? (2) Is the eSIM line set as your active data line? (3) Are you in a country where the eSIM plan has coverage? If all three check out, restart your phone. A reboot forces the phone to re-register with the network.
"Carrier lock" preventing installation If your phone was purchased through a carrier on an installment plan, it might be SIM-locked to that carrier. Carrier locks can block eSIM installation from other providers. Contact your carrier to request an unlock, or check your phone's settings to see your lock status.
VPN or proxy interfering Active VPN connections occasionally interfere with eSIM profile downloads. Disable any VPN apps, install the eSIM, then re-enable your VPN afterward.
If none of these fix it, reach out to your provider's support team. A good provider will have you connected within minutes. A screenshot of the error message speeds things up considerably.
Quick Reference
| Step | iPhone | Samsung Galaxy | Google Pixel |
|---|---|---|---|
| Settings path | Settings > Cellular > Add eSIM | Settings > Connections > SIM Manager > Add eSIM | Settings > Network & internet > SIMs > Add SIM |
| QR scan | Use QR Code | Scan QR code from service provider | Scanner opens automatically |
| Manual entry | Enter Details Manually | Enter activation code | Enter activation code |
| Enable roaming | Cellular > [eSIM line] > Data Roaming | Connections > SIM Manager > [eSIM line] > Roaming | Network & internet > SIMs > [eSIM line] > Roaming |
The whole process — from QR code to working data connection — takes two minutes when everything goes right. And it usually does. If you haven't tried an eSIM yet, it's worth setting one up for your next trip just to see how much simpler it is than hunting for a SIM card at the airport.
Browse Only eSIM plans to find data packages for your destination.
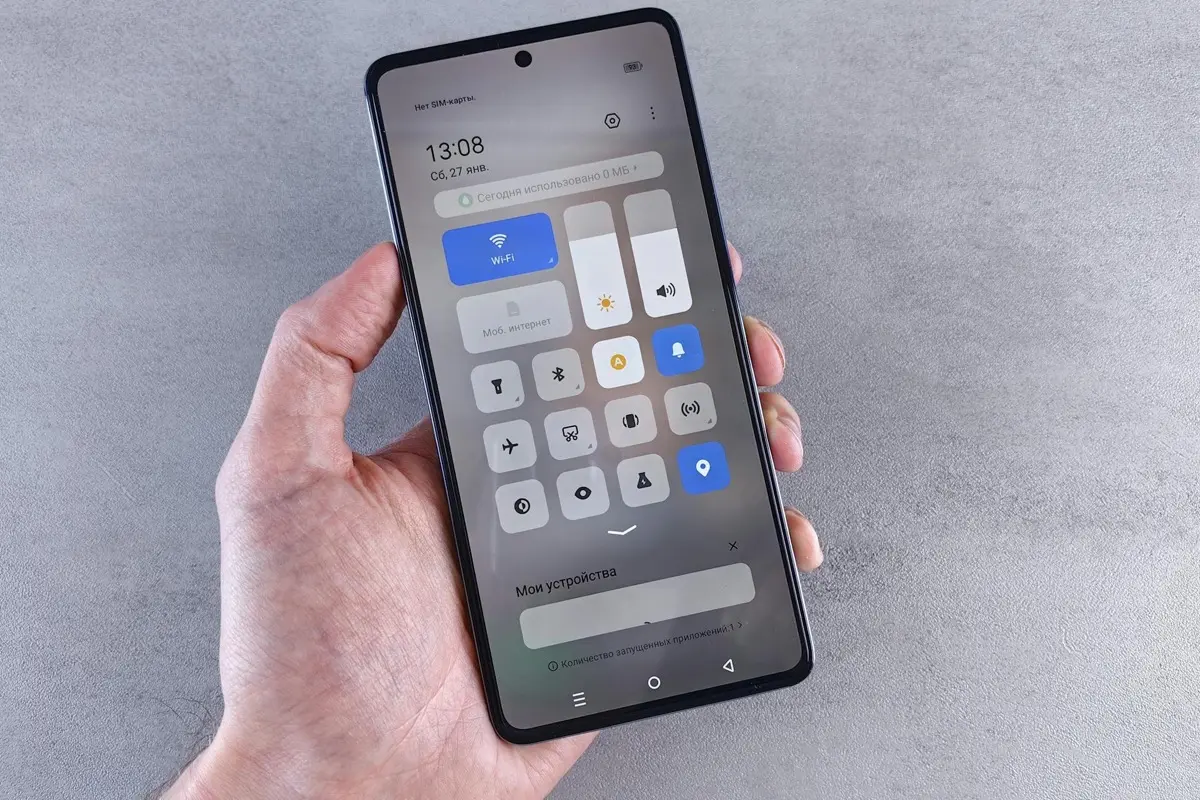
Hero photo by iMin Technology on Pexels. Inline photo by Andrey Matveev on Pexels.
Stay connected wherever you travel
Instant-activation eSIM plans for 190+ countries. No SIM swaps. No roaming charges.
Related Articles
 Learn
LearnHow to Check if Your Phone Supports eSIM
Step-by-step instructions for checking eSIM compatibility on iPhone, Samsung, Google Pixel, and other Android devices. Plus how to tell if your phone is carrier-locked.
 Learn
LearnWhat Happens to Your eSIM When You Change Phones?
Explains eSIM transfer during phone upgrades: which profiles transfer automatically, which need re-downloading, carrier vs. travel eSIM differences, and what to do before you wipe your old device.
 Learn
LearneSIM Data Plans Explained: What You're Actually Buying
What GB allowances, throttling, cutoff, validity periods, regional vs global plans, and fair usage policies actually mean when you're buying a travel eSIM data plan.