eSIM for International Travel: The Complete Guide

More than half of all eSIM users first activated one for travel, not because they were early adopters, but because standing in an airport SIM kiosk line with jet lag is a terrible experience. By 2026, with hundreds of devices supporting eSIM and Apple shipping eSIM-only iPhones in the US since 2022, the technology has crossed from novelty to default. If you're still renting pocket WiFi or hunting for SIM kiosks on arrival, this guide is your off-ramp.
The Old Options (and Why They're Fading)
For years, staying connected abroad meant choosing between bad and worse:
Pocket WiFi was the gold standard through about 2022. Rent a small device, connect your phone to it, return it before you leave. It worked, but you had to carry an extra gadget, keep it charged, and stay within a few meters of it. If you split up from your travel partner for the afternoon, one of you was offline.
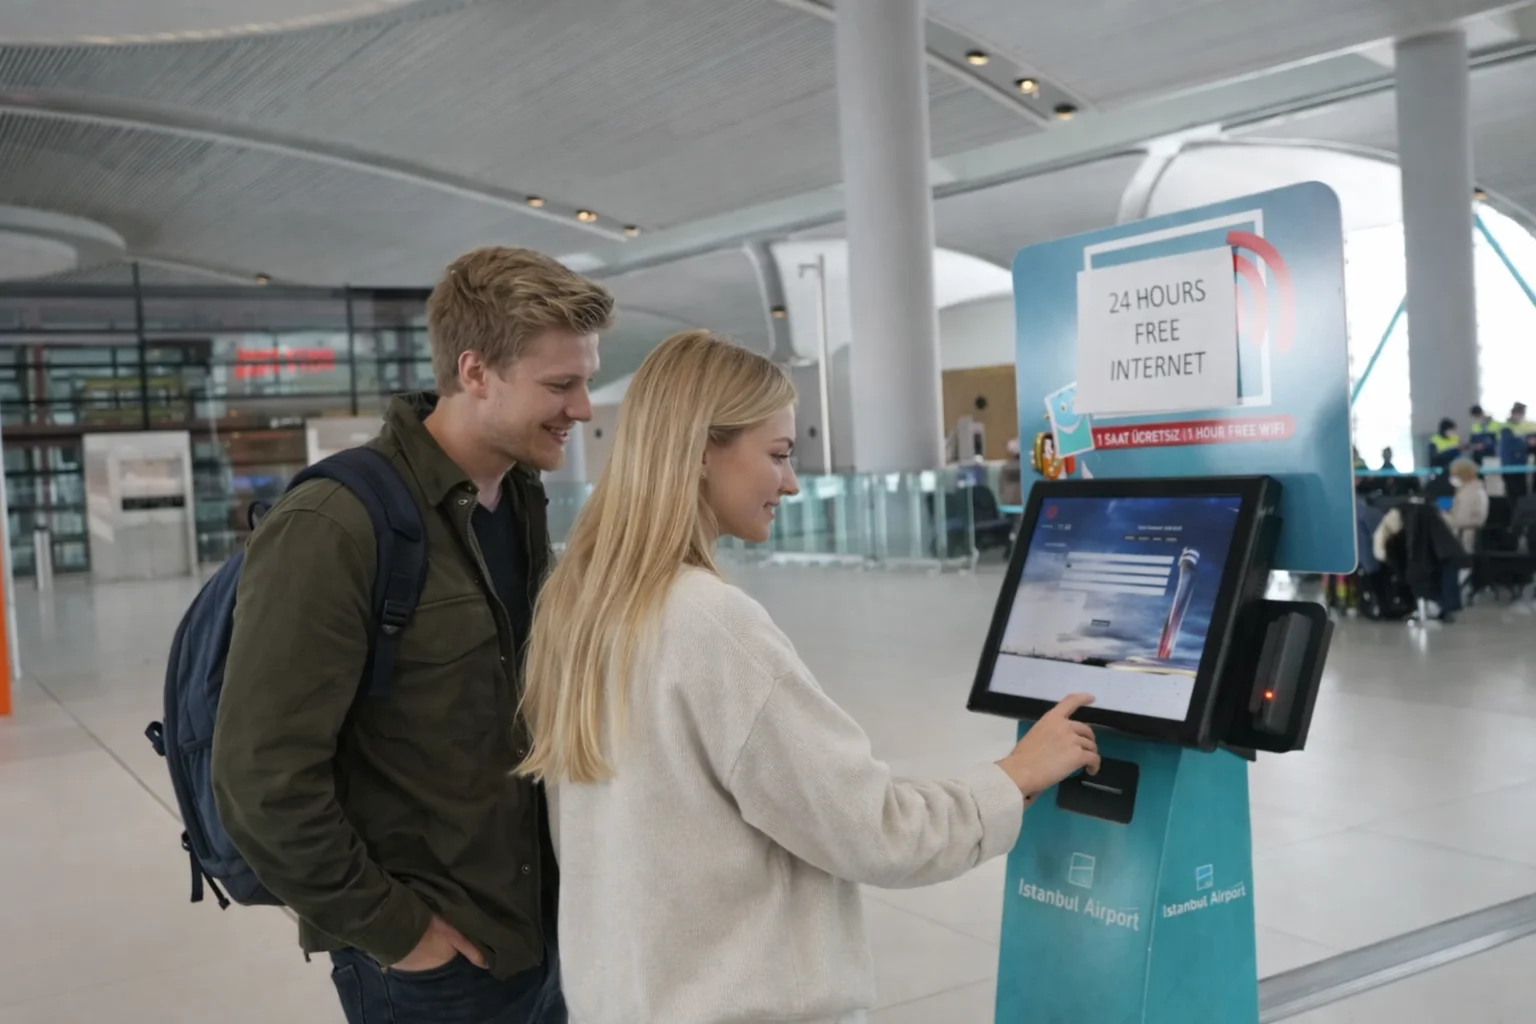
Airport SIM kiosks solved the carry-another-device problem but introduced new ones. Language barriers. Passport requirements that vary by country. Lines during peak arrival times. And once you popped out your home SIM, you stopped receiving texts and calls on your regular number.
International roaming on your home carrier plan? Some carriers have gotten better about this. T-Mobile includes slow-speed data abroad on most plans, and Google Fi's premium plan covers 200+ countries. But AT&T charges $12/day for its International Day Pass and Verizon's TravelPass runs $12/day as well, and even T-Mobile's included international data drops to 256 kbps after you burn through the high-speed allotment (5-30 GB depending on plan).
eSIMs didn't kill these options overnight. But by 2026, the gap in convenience is hard to ignore.
How Travel eSIMs Actually Work
If you're new to eSIMs, here's the short version: your phone has a tiny chip soldered to its motherboard called an eUICC (embedded universal integrated circuit card). It does the same job as a physical SIM card, but instead of swapping plastic, you download a carrier profile digitally. Our full explainer covers the technical details if you want to go deeper.
For travel, the process is simple:
- Buy a data plan for your destination country (or region)
- Scan the QR code you receive
- Your phone downloads the carrier profile
- Land at your destination, and your phone connects to the local network
The whole setup takes about two minutes. Your existing SIM card stays in place — modern phones support dual SIM — handling calls and texts on your home number while the eSIM handles data.
Data-Only vs. Voice Plans
Most travel eSIMs are data-only. No phone number, no native SMS. This sounds like a limitation until you realize how little that matters in practice.
WhatsApp, FaceTime, Telegram, Signal, Zoom. Every way you actually communicate while traveling runs over data. The only scenario where you genuinely need a local phone number is calling a restaurant that doesn't have an online reservation system, or reaching a local business that only answers traditional calls.
Voice-and-SMS eSIM plans do exist. They cost more, and most short-trip travelers never need them. The exceptions: long-term stays where you need a local number for banking or government services, or business travel where clients expect to reach you by phone.
Our take: Start with data-only. If you find yourself needing a local number, you can always add one later.
Most short trips only need data. Messaging, maps, ride-hailing, translation, and reservations all work over mobile data.
Regional vs. Single-Country Plans
This is the decision that actually matters for your wallet.
Single-country plans give you data in one specific country. They're cheaper per GB because the provider is routing traffic through a single carrier partnership. A 5 GB plan for Japan might run $8-12. If your trip is one country, this is the obvious choice.
Regional plans cover multiple countries on one eSIM. A Europe plan, for example, might work across 30+ countries. You cross the border from France to Spain and your data keeps working without you doing anything. The per-GB cost is slightly higher, but you're paying for the convenience of not managing multiple eSIMs across a multi-stop trip.
Global plans cover dozens of countries worldwide. These carry a premium, but for someone hitting three continents in two weeks, the simplicity is worth it.
A practical framework: if you're visiting one country, buy a single-country plan. Two or more countries in the same region? Regional plan. A round-the-world trip? Global, and stop overthinking it. (Not sure how much data to buy? We wrote a separate guide for that.)
Your Pre-Flight Checklist
The number one mistake travelers make with eSIMs is waiting until the airport to set things up. Don't be that person. Here's what to do before you leave home:
1. Confirm your phone supports eSIM. On iPhone, go to Settings > Cellular. If you see "Add eSIM," you're set. On Android, check Settings > Network & Internet > SIMs. Most iPhones from the XS onward support eSIM. Samsung Galaxy S20 and later do too, but eSIM support varies by region (some US-purchased S20s don't have it, for example). When in doubt, dial *#06# and look for an EID number.
2. Buy and install your eSIM 1-2 days before departure. You need stable WiFi to download the carrier profile. Home WiFi is stable. Airport WiFi is not. The eSIM won't activate or consume data until you reach your destination's network.
3. Label your lines. After installing, go into your cellular settings and rename the eSIM line to something obvious: "Japan Data" or "Europe Trip." When you have two SIM lines active, clear labels save confusion.
4. Set your data line. Tell your phone which SIM should handle mobile data. Keep your home SIM as the default for calls and messages. Set the travel eSIM as the data line. You can do this now; it won't switch until the eSIM connects abroad.
5. Check that data roaming is enabled for the eSIM line. This trips up a lot of first-timers. Travel eSIMs use partner networks in your destination country, which your phone categorizes as "roaming." If data roaming is off for that line, you'll have signal but no internet. Enable it in your cellular settings before you fly.
6. Screenshot your eSIM provider's support info. Save their email or support page offline, just in case. If something goes wrong on arrival, you want a way to reach them that doesn't require the internet you don't yet have.

eSIM means no more hunting for SIM kiosks after a long flight. Set up at home, land, and go.
When You Land
Turn off airplane mode. Wait 30 seconds to a minute. Your phone should pick up the local network automatically. If it doesn't, toggle the eSIM line off and back on in settings, or manually select a network.
That's it. No kiosk lines. No passport checks. No pocket WiFi deposits. Just open your phone and go.
Pocket WiFi Still Has One Use Case
Groups of four or more people traveling together, where some members don't have eSIM-compatible phones, and everyone plans to stay together the entire trip. In that scenario, a single pocket WiFi device shared among the group is still cost-effective.
For everyone else, eSIM is the simpler answer. Set it up at home, forget about connectivity logistics, and spend your energy on the trip itself.
Photos from Pexels (free license).
Stay connected wherever you travel
Instant-activation eSIM plans for 190+ countries. No SIM swaps. No roaming charges.
Related Articles
 Travel Tips
Airport WiFi vs eSIM: Which Is Better for Travelers?
Honest comparison of airport and hotel WiFi versus eSIM cellular data for travelers. Covers speed, security risks, cost, reliability, and why we recommend having both.
 Travel Tips
How Much Data Do You Actually Need When Traveling?
Practical data usage breakdown for travelers: how much data maps, messaging, social media, video calls, and streaming actually consume, plus a simple rule-of-thumb calculator for trip planning.
 Learn
LearneSIM Data Plans Explained: What You're Actually Buying
What GB allowances, throttling, cutoff, validity periods, regional vs global plans, and fair usage policies actually mean when you're buying a travel eSIM data plan.